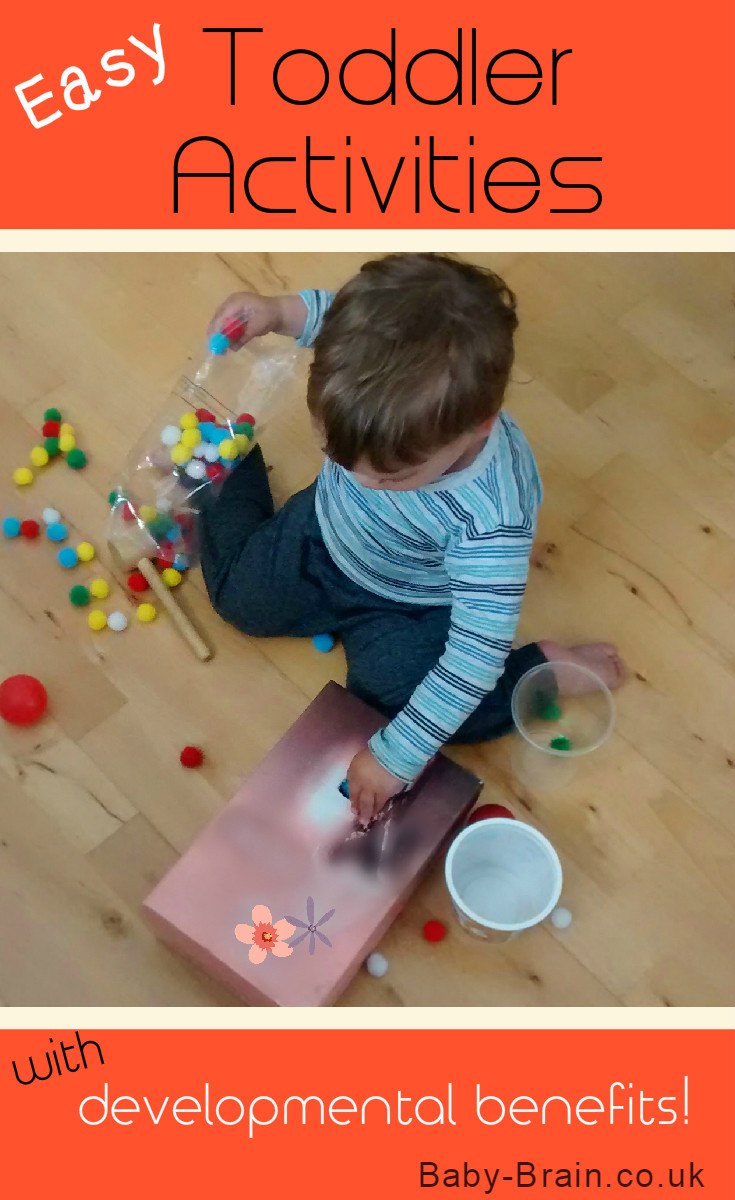
Treasure Basket Ideas and Heuristic Play
How to develop Treasure Baskets, the meaning of the baskets and heuristic play!
Treasure Basket Ideas and Heuristic Play

What’s this treasure basket stuff about then?
Treasure Basket ideas and themes
I’ve been assembling and documenting use of Treasure Baskets with my Little Lovely (LL). These could also be referred to as treasure or heuristic bags or boxes. They aren’t all technically “Baskets”, but are a range of themes and groups of items presented in baskets, on trays, buckets, etc. They are not “pure” Treasure Baskets because they are not all presented in a basket, i’ve grouped them into themes rather than a wider and eclectic selection of items, and also, traditionally the baskets would contain items made from natural materials only such as wood, metal, cotton, and so on. I’ve included plastic items because I decided to just include items I had around the house that I thought might be interesting.
And now some of the background information on Treasure Baskets. I really enjoyed reading around the theory and history behind these:
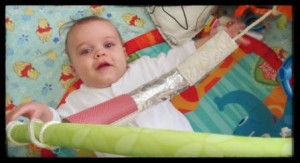
Age range: Originally the aim was for ages 7-12 months (1), although you will see baskets being used with children both younger and older than 7-12 months (5 or 6 months, 12 to 18 months and older), and also used with people with special educational needs. The Treasure Box idea was originally devised for infants who were old enough to sit up but not old or mobile enough to get about and explore. Hence – you bring the world to them and let them explore and experience various sensory aspects (touch, sound, sight, taste, smell) through exploring the items in the basket and discovery – alongside developing hand-eye coordination skills. LL could sit unsupported, but was wobbly, I think from about 5 months and I probably started to introduce some boxes soon after. Because of the wobbles I put cushions all around him when sitting so that he can flop backwards without hurting himself. You’ll see the cushions in some of the pictures.
History: Originally introduced by Elinor Goldschmied. You can read a bit more about her here in this article from The Guardian where the author describes her as “one of the pioneers of early childhood care and education”. Three main contributions from Elinor Goldschmied were the Treasure Basket, Heuristic Play, and the Key Person approach.
What’s this “heuristic” thing?: A term first used by Elinor Goldschmied and Sonia Jackson (see their book: People under Three) – it’s about discovery play– the term is used to described the activity of toddlers when they play with objects, how they experiment with objects and the environment. It’s called “experimental” because the child is interested in discovering what they can do with the objects. This kind of experimentation continues into later childhood and as adults where we often experiment with what we can do with different materials and things (2). Treasure baskets are relevant here because they allow baby the opportunity to handle and mouth objects (sensory motor skills) so that they can find out more about them, and they offer new sensory experiences that allow the brain to grow and become more active (2). The term Heuristic Play is more relevant to children of toddler age, and Treasure Baskets to babies.
How to create and use treasure baskets
 Ok so what are some examples then?: collect a range of items from around the room or house, that are baby safe, mouthable and excite the senses, so for example, the object has a bumpy feel to it, a certain smell, maybe it makes a noise when you shake it or hit it against another object. Goldschmied is quoted as saying that
The Treasure Basket provides a whole world in focussed form because it is deliberately collected to embrace a part of what is there” (2; pg 6)
The parent/caregiver role is also important. After presenting the Treasure Basket to baby, sit close by, be attentive and available to the child if needed but do not direct the exploration or play; let baby explore at their own pace and make the decisions without giving in to the temptation to go through the basket yourself and show baby each item or demonstrate how to use them. Don’t forget other input such as verbal influences, like asking questions, making comments or suggestions for what to do with items and imposing your own ideas (1) …..
- Resist the urge! ⇒ Treasure baskets should be child-led and….
- They offer very young children an opportunity to actually make decisions about what to play with and how (1) (an opportunity which they don’t usually get)
A personal case study
– Update: I was sitting with LL some days after I wrote this post (aged 6.5 months) while he got stuck into a new treasure basket where I had mixed up the items and included some new little metal dishes that I thought he might like to bang around. I found it EXTREMELY tempting to come in and suggest things to him, I wanted to show him examples of what he could do with some items (like bang them together) so that he could imitate me and learn. But, I resisted and maintained the baby-led aspect and it was very interesting to see where he took it to himself – bashing things together, moving items, experimenting with them all of his own accord.
It was also tempting to hand items to him that had rolled out of reach or that he was struggling to handle. However, he managed to shuffle himself (in a sitting position) or stretch to reach things, adjust his hands so he could pick something up or manipulate it. It really highlighted for me the developmental aspects of the Treasure Basket through his experimentation and exploration- he was working out by himself how to do these things, developing his physical skills and problem solving skills. If I had intervened and “helped him out” by giving him items he would not have had the chance to independently initiate, practise and build on these skills, and for both of us to know that he could do these things! Actually – he probably knows he can do them, it’s just me that needs to catch up!
Although I was sitting close by, not commenting or interfering and so feeling a bit like “well what am I actually doing then?” about it, it was important for me to be there. LL occasionally looked up at me, made eye contact and smiled, then looked away and got on with what he was doing. He also definitely noticed when I got up and moved away from him, even though I was in the same room (I was just getting a drink or something). He paused his activity for much longer, strained to get my attention with eye contact and making noises, and didn’t seem to properly continue his exploration until I came back and sat down near him.
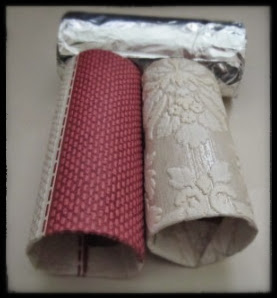
Treasure Tin – “round shapes” treasure basket idea
Babies get bored so don’t leave the basket out as a regular toy or else they will get bored of the items. Have a more specific session of treasure basket time instead, maybe 30-60 minutes, at a time when you think baby is set up to explore (i.e. well fed, rested, in a good mood, etc). Treasure Baskets can have 20, 40, 60 or even more items in them.
Over time you can replace and add items to the basket. Younger babies might need less items to begin with so that there is not too much choice, and you can then build on the collection and add new and unique items that baby has not seen before. Make your basket developmentally appropriate: for a younger baby, add a few selected items, ones that they are able to grasp.
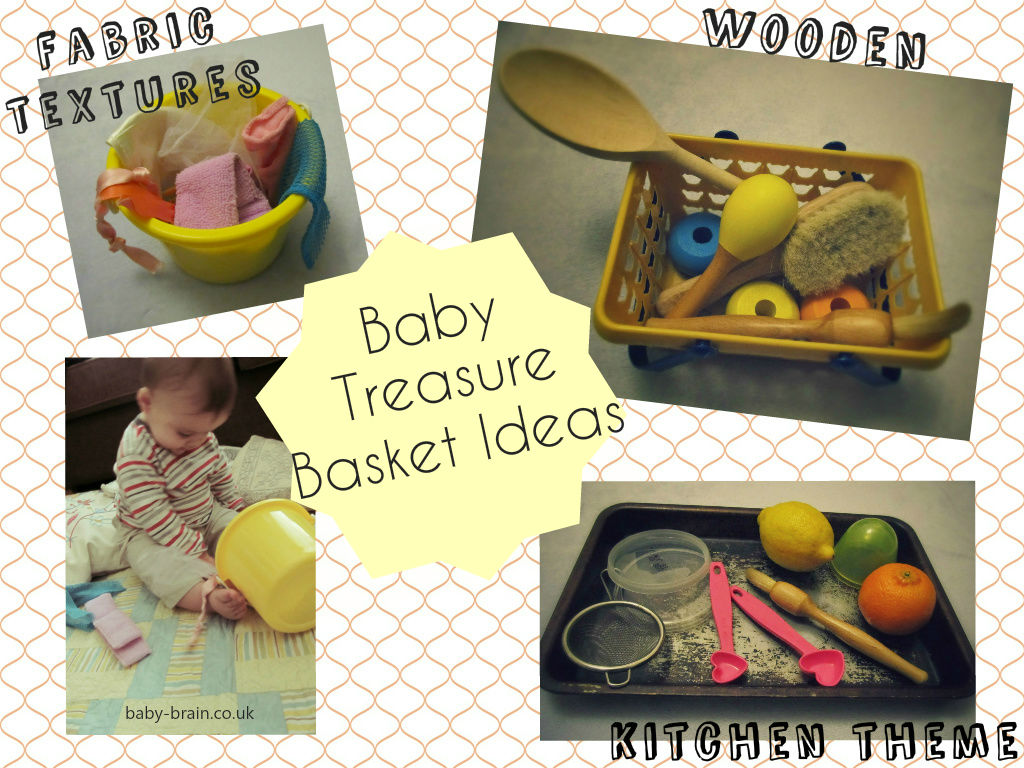
Observe and see what your child is doing developmentally, and what they are about to move on to. For example, LL was starting to pick up an item in each hand, bring them together and also experiment with how two items might go together. I therefore wanted to include some things he could bash about in the “kitchen set” – see picture above- including a metal tray that he could hit with the pastry brush or measuring spoons and experience the noise. Once he moves on to grasping and manipulating smaller items I will look for more suitable things for his baskets (but be weary of any choking risks). I noticed there are a few things that LL was not really interested in, such as the green wooden wormy thing in the Green Set (see picture below). It’s quite heavy, each segment can be moved and manipulated but maybe this is too advanced for him to use and requires more advanced fine motor skills than he had at 6 months when first presented to him. Maybe this is an item to add a bit later.
Safety first: ensure items are safe to touch and mouth, that there are no little bits that might pose choking hazard, that they are non-toxic, etc. Clean and wipe items first. Always ensure there is adult supervision with each activity. Please do your own risk assessment to determine which items are safe. Here’s some more details of some of the basket themes I’ve used – remember these are not purist treasure baskets! You can of course, and probably should, mix it up
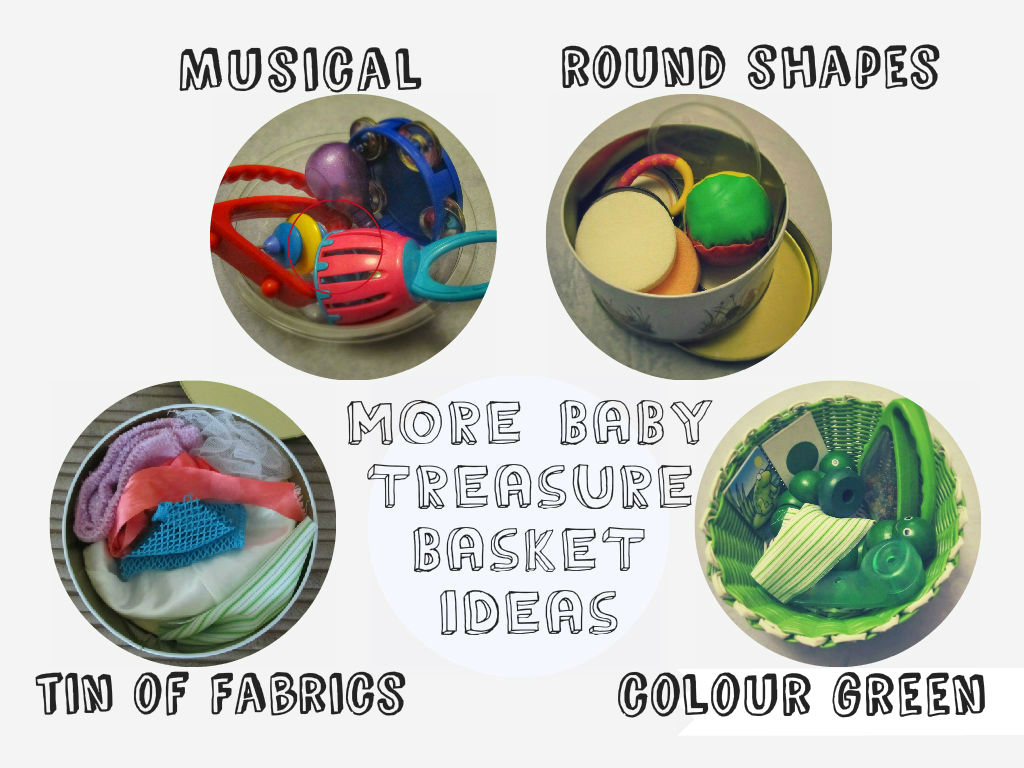
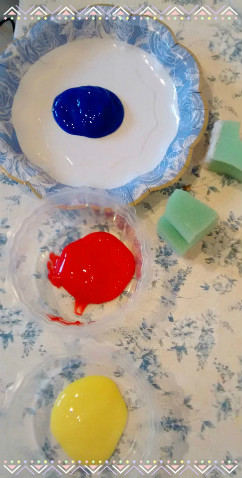
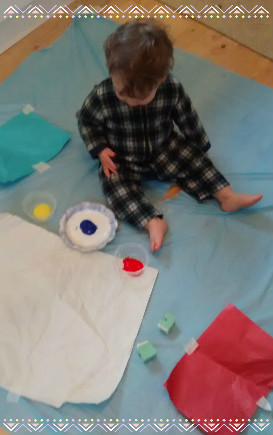
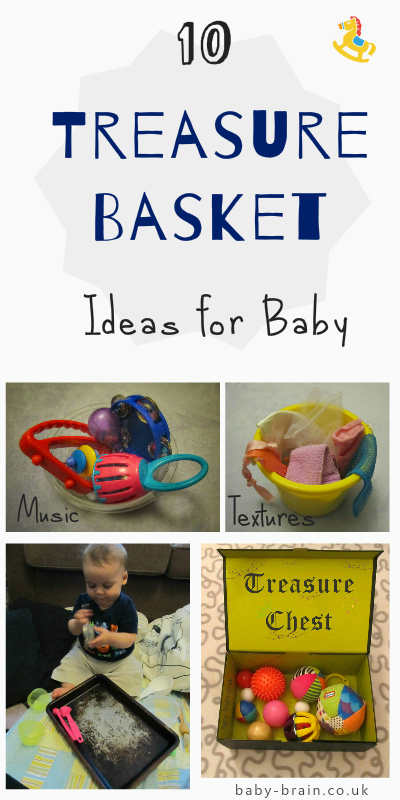
Some sensory and treasure basket/bin/box base filling ideas (pictures above)
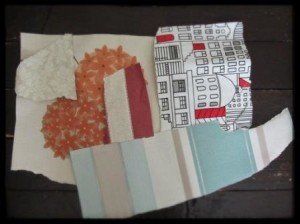
Fabric
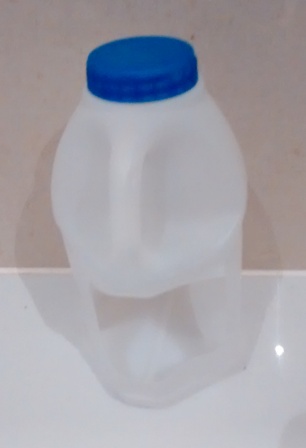
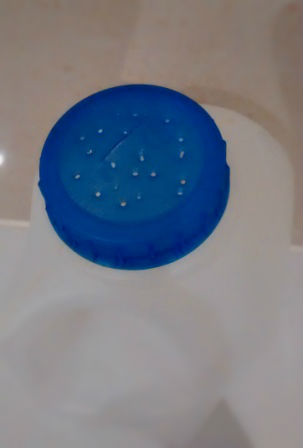
I collected fabric pieces of various shapes, colours and textures including satin feel ribbons, a baby wash cloth, netted and mesh-like pieces of material. I have presented them to LL in both a sand bucket and a small metal cake tin. The bucket was possibly more interesting for him because he could dig through it and empty it out. I once hid a colourful ball in there which he quite enjoyed chewing on when he found it.
Green colour set
This basket includes a range of materials and items all of the same colour, including a wooden twisty wormy thing – this is what I mentioned earlier where I think it is too advanced for his age because he can’t yet twist it around and manipulate it. Some green fabric, a shaker, rattle in shape of a phone, large wooden counter, two card pictures.
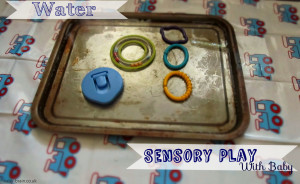
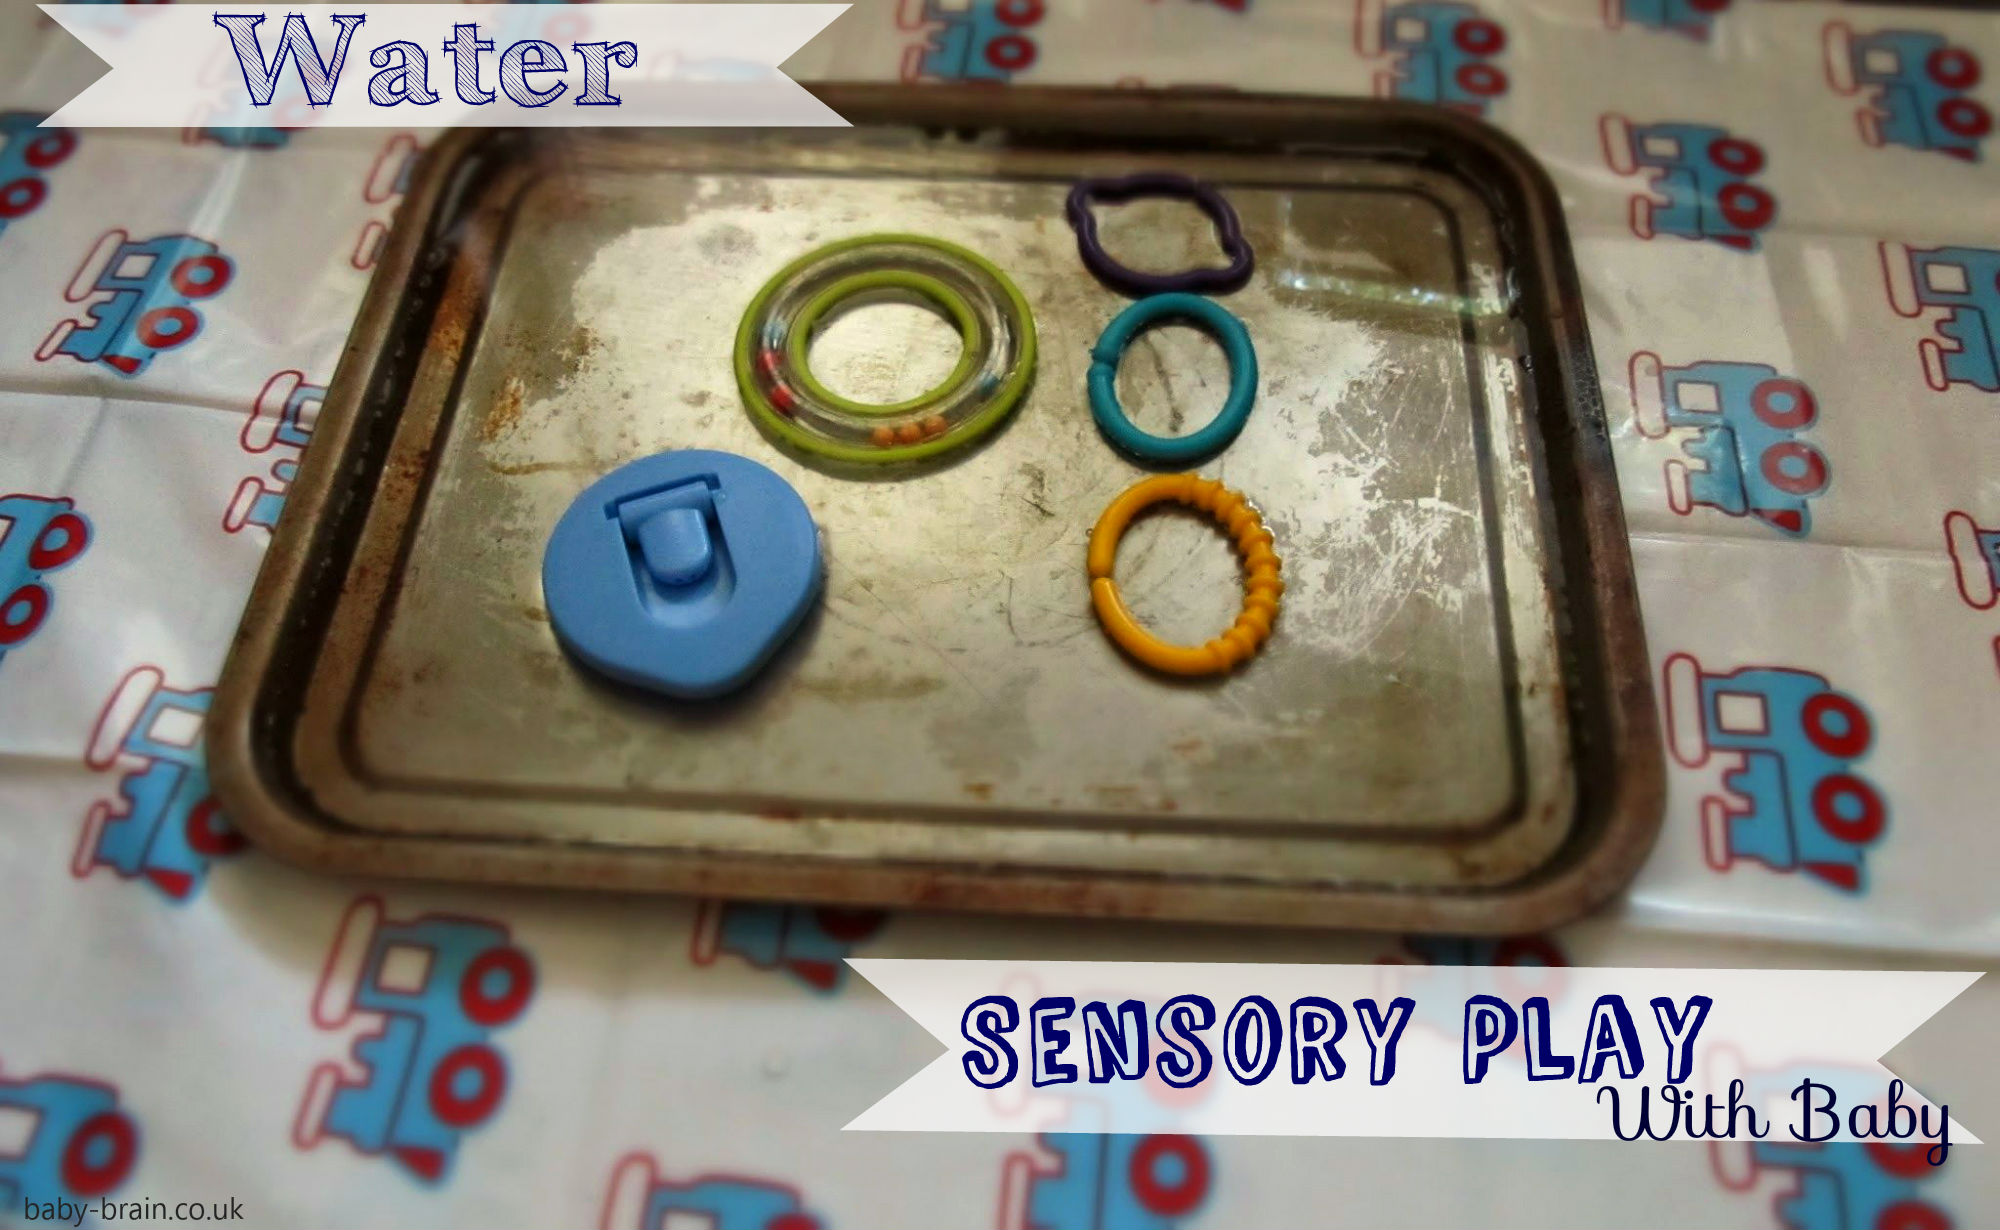
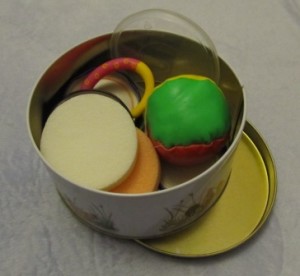
Round Shapes
This tin includes a round ball, two sponges, large plastic lids, metal lids from jars, linky loops.
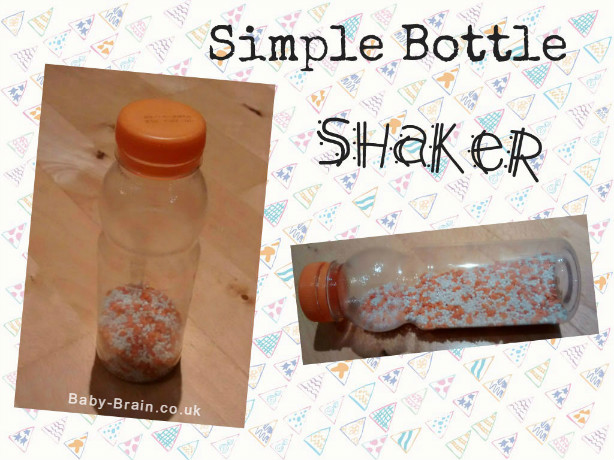
Musical
A little tambourine, cage bell, shaker and a lightweight rattle. This is more a little music box than a traditional treasure basket.
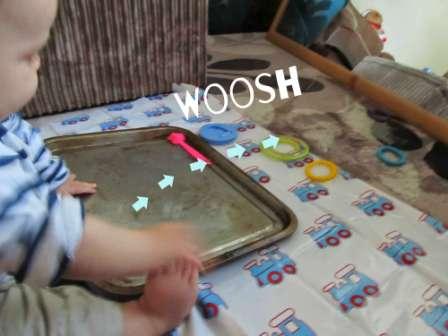
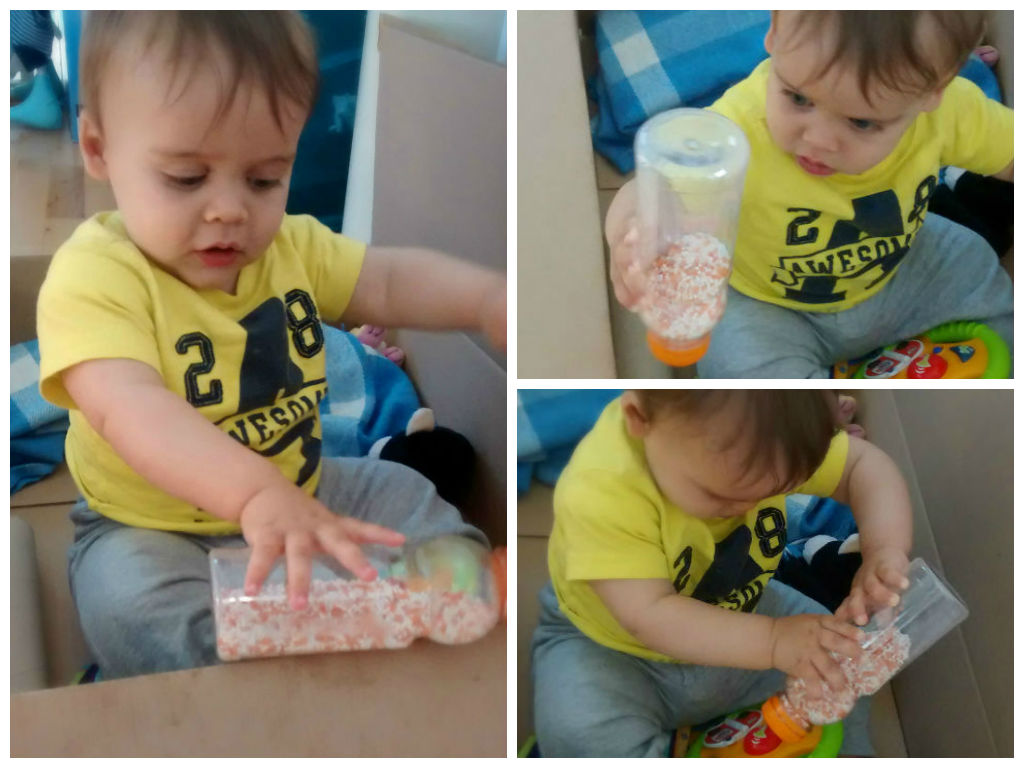
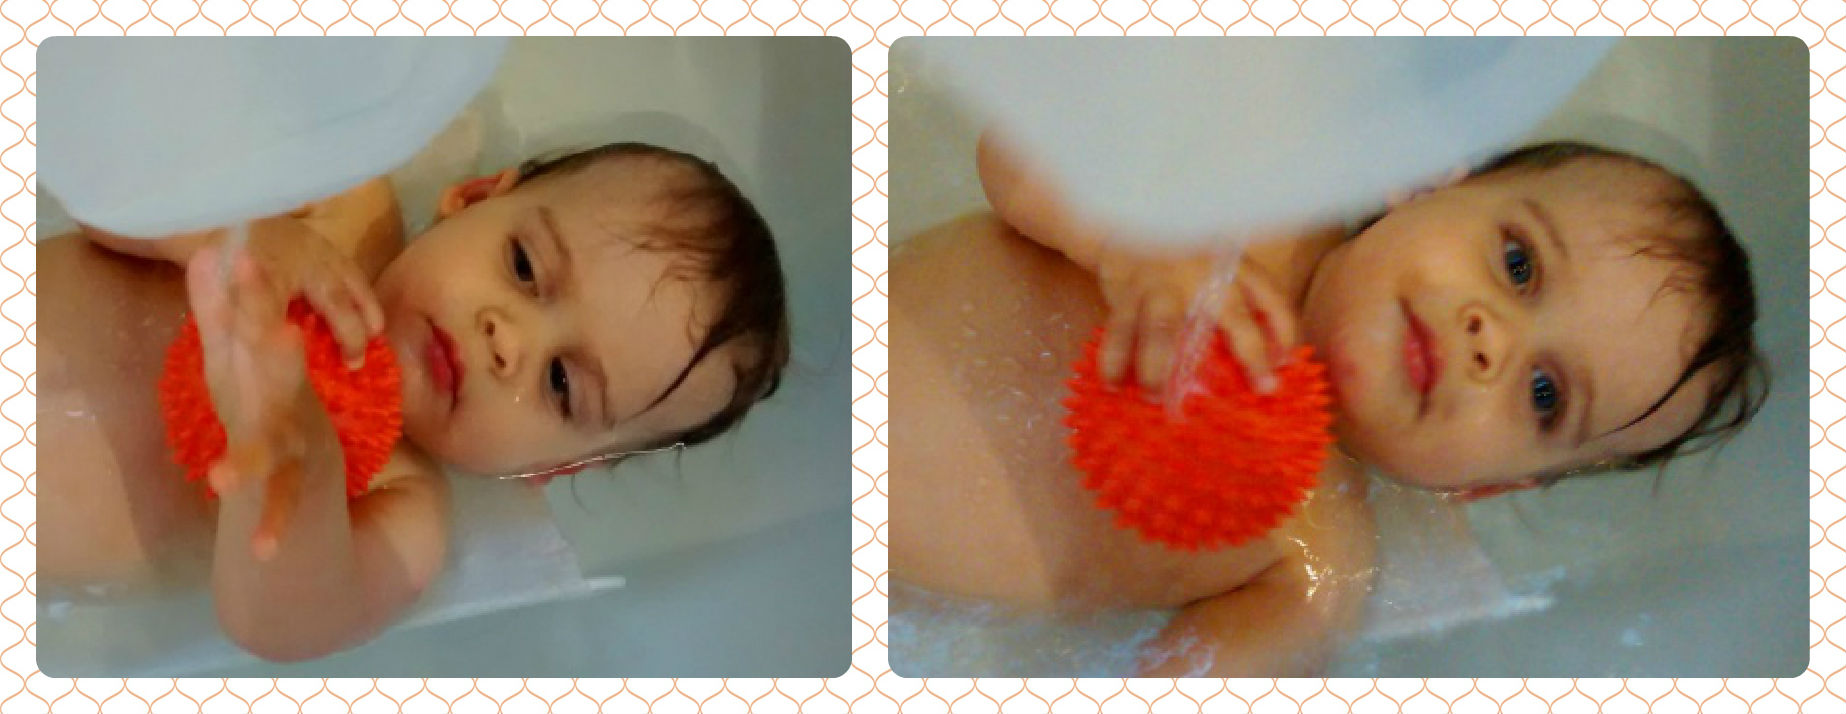
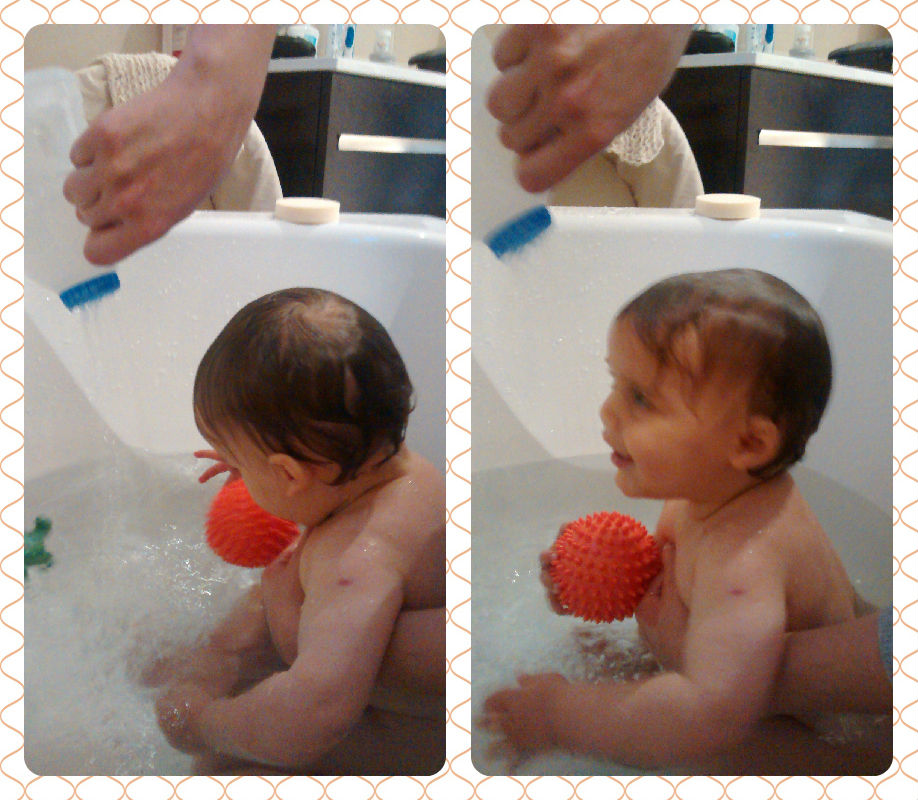
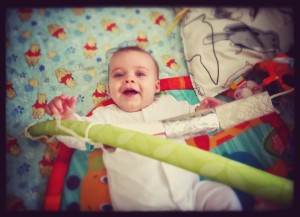
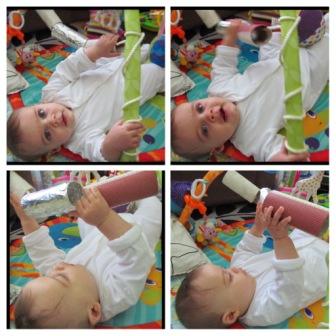
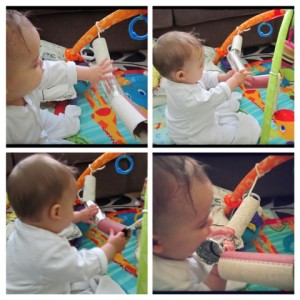
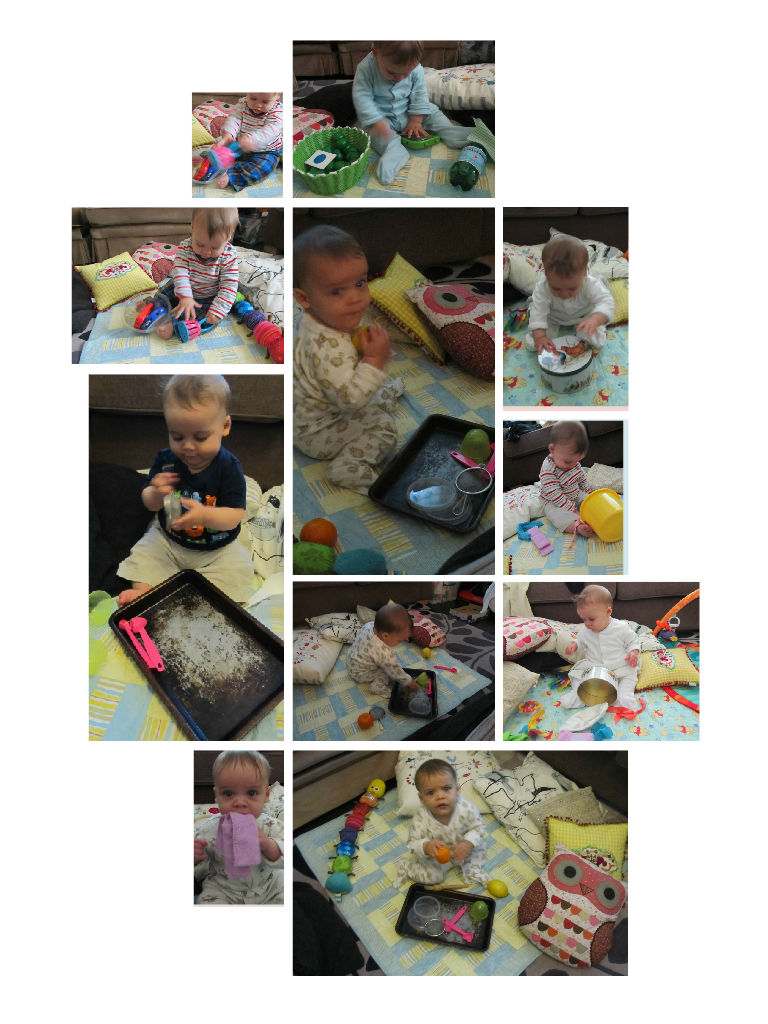
And here are some pictures of LL discovering his baskets
References
- Gascoyne, S. (2012). Treasure Baskets & Beyond: Realizing the Potential of Sensory-rich Play. McGraw-Hill. (access the introductory chapter to this book here, and read a more about sensory, heuristic play and Treasure Baskets)
- Hughes, A. M. (2010). Developing Play for the Under 3s: The Treasure Basket and Heuristic Play. Routledge
Other references influencing this post:
 This activity is Montessori inspired. For more Montessori inspired activities check out some of the weekly ideas posted as part of the “Montessori Monday” collection at “Living Montessori Now“.
Thank you for reading: treasure baskets and heuristic play – why and how to make and use treasure baskets – Baby-Brain.co.uk – Psychology resource and perspective on babies and motherhood