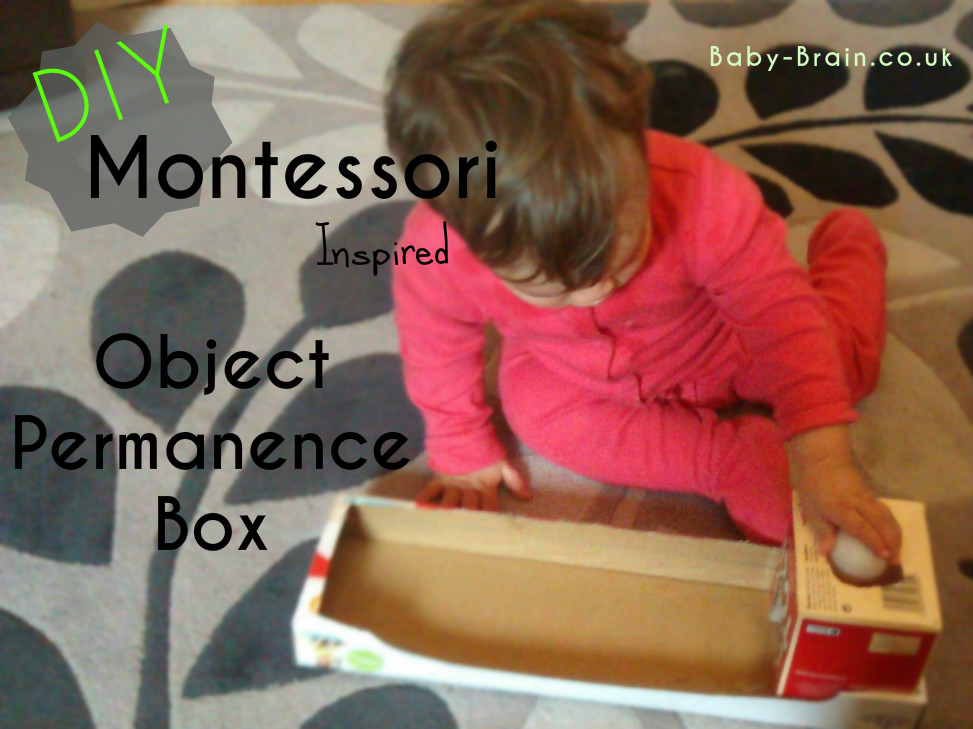
Do-it-yourself Object Permanence Box for infants: Inspired by Montessori materials.
-
This is practically free to make. You just need some cardboard, glue or tape, and a ball
Inspired by Montessori materials and activities, I’d always wanted an object permanence box but didn’t really want to spend £40 or so on the wooden box. So – I decided to try and make one out of cardboard and old boxes and it seemed to work. My Little Lovely (LL) really enjoys using it, putting the ball and other items in the top, exploring the box and seeing what happens if he puts the ball in the other hole.
Aims of the object permanence box: The infant has to drop a ball into the hole in the top of the box. The ball is then not visible for a moment but rolls out of the box onto the tray. The child therefore experiences a lesson in “object permanence” because they see that the ball didn’t just disappear out of existence – even though they couldn’t see it for a second, it still exists
Other learning benefits of the box: encourages curiosity, cause and effect, hand movements and fine motor skills (dropping the ball into the hole, etc), achieving a goal independently with repeated practice.
When to use the box: From when babies are old enough to sit up without support.
Here’s a short video of what the real deal looks like, as used by a 9 month old, and another of a child at nearly 1 year
Psychology & Object Permanence: Object Permanence is an awareness that children develop where “out of sight” does not mean “out of mind”. Initially, when something is removed from view of the baby then from their understanding it ceases to exist – they can’t see it, so it doesn’t exist. Understanding that something exists even when you can’t see it is an important developmental stage, according to the Stages of Cognitive Development as posed by Jean Piaget, an eminent and Swiss psychologist. It is posed as a stage in development because it requires the child to form a “schema”, or mental representation of the object. Infants develop this skill by the end of the “sensorimotor stage”. It was thought to develop around 8-12 months, although there is research to suggest it can develop earlier, and the psychological research does not seem to agree on exact age.
How to make the box:
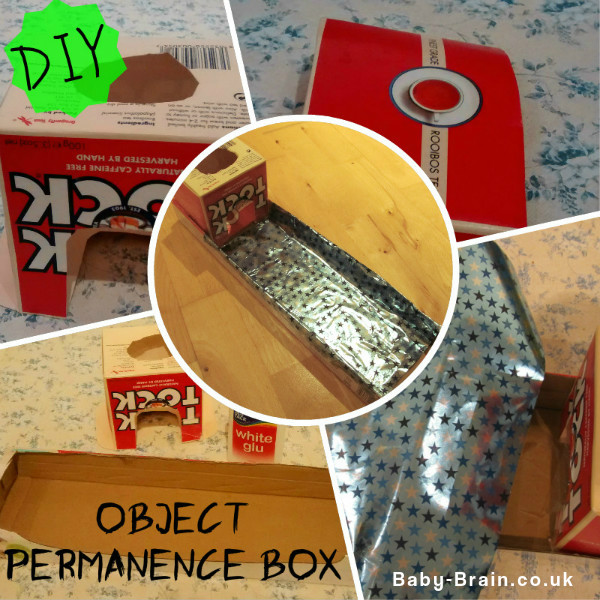
1: I found a long cardboard box and cut some of the sides down so that I had a long, not too deep tray for the ball to run into and be contained.
2: An old tea box looked good for the little box to house the ball. I cut a hole in the top and on the front for the ball to run out of.
3: The ball needed a bit of help rolling out of the tea box and onto the cardboard tray so I made a little ramp (otherwise the ball just sat in the box after being dropped in and didn’t roll out). This was actually part of the lid from the tea box and was already slanted so I didn’t need to do much to it.
I then slotted the ramp into the tea box and glued the tea box onto the long box. You might be able to see in picture 2, there are some little flaps on the bottom of the box on each side. This was quite helpful and I put the glue on these flaps then pressed it down onto the long cardboard tray.
4: I realised that the box was looking a bit DIY so for some reason I decided to make it look more hideous by adding some wrapping paper.
5: et voilà – here is the finished box (not particularly Montessori style with the wrapping paper)
-
If you would like to make your box look more hideous with wrapping paper like I did, I would not recommend anything too busy like the one I used. Maybe just some plain, nice calming colours?
-
If I made it again I would also probably find a slightly bigger box for the ball to drop into. The tea box was ok but the ball rolled out of it pretty quickly, so maybe something a bit bigger might have held the ball out of sight for slightly longer. The tray is also slightly long, but I was using materials just hanging around the house that were waiting to go for recycling so I had to make do with what was available.
How to use the box with baby:
I quote from a Montessori site:
Presentation of the Montessori Object Permanence Box
1. Put the work mat in place and put the object permanence box on the work mat so it will be in front of the child. Encourage the child to help.
2. Sit facing the child with the work mat between you.
3. Name the box and the ball: “This is the box. This is the ball.”
4. Slowly and deliberately place the ball in the hole.
5. When the ball rolls to a stop in the tray, smile and pick it up.
6. Repeat the action.
7. Invite the child to place the ball in the hole.
8. Once the child begins putting the ball in the hole, quietly move aside and allow her to work undisturbed.
9. When finished, invite the child to put the materials away on a low shelf so she may work with them again when she wishes.
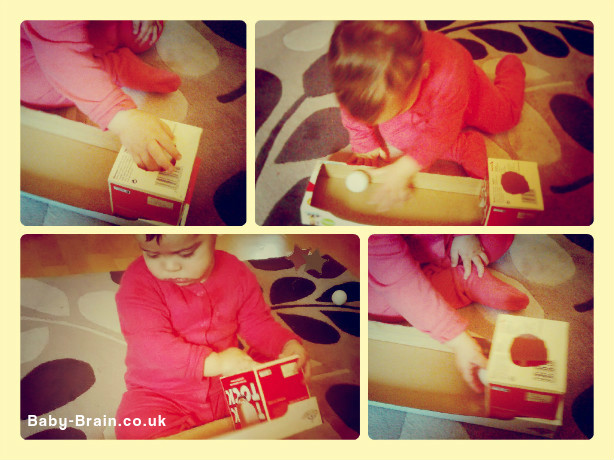
And here we are experiencing the box:
(age 12 months)
Apologies to Montessori enthusiasts – I know that you value natural materials like wood, but i’m not a carpenter and couldn’t make a box out of wood. I also know that adding wrapping paper doesn’t make it look too natural. But, hopefully I’ve captured the essence of the box, the principles and learning benefits for the child, and made an accessible and cheap alternative that can be put together easily at home.

